The Command Execution Add-on v2.0 lets you easily manage your Sn1per Professional instance from a web interface without ever touching the command line.
Help Topics
- Single Target Scan
- Multi-Target Scan
- Subnet Scan
- Custom Target Scan
- Mass URL Scan
- Importing URL’s
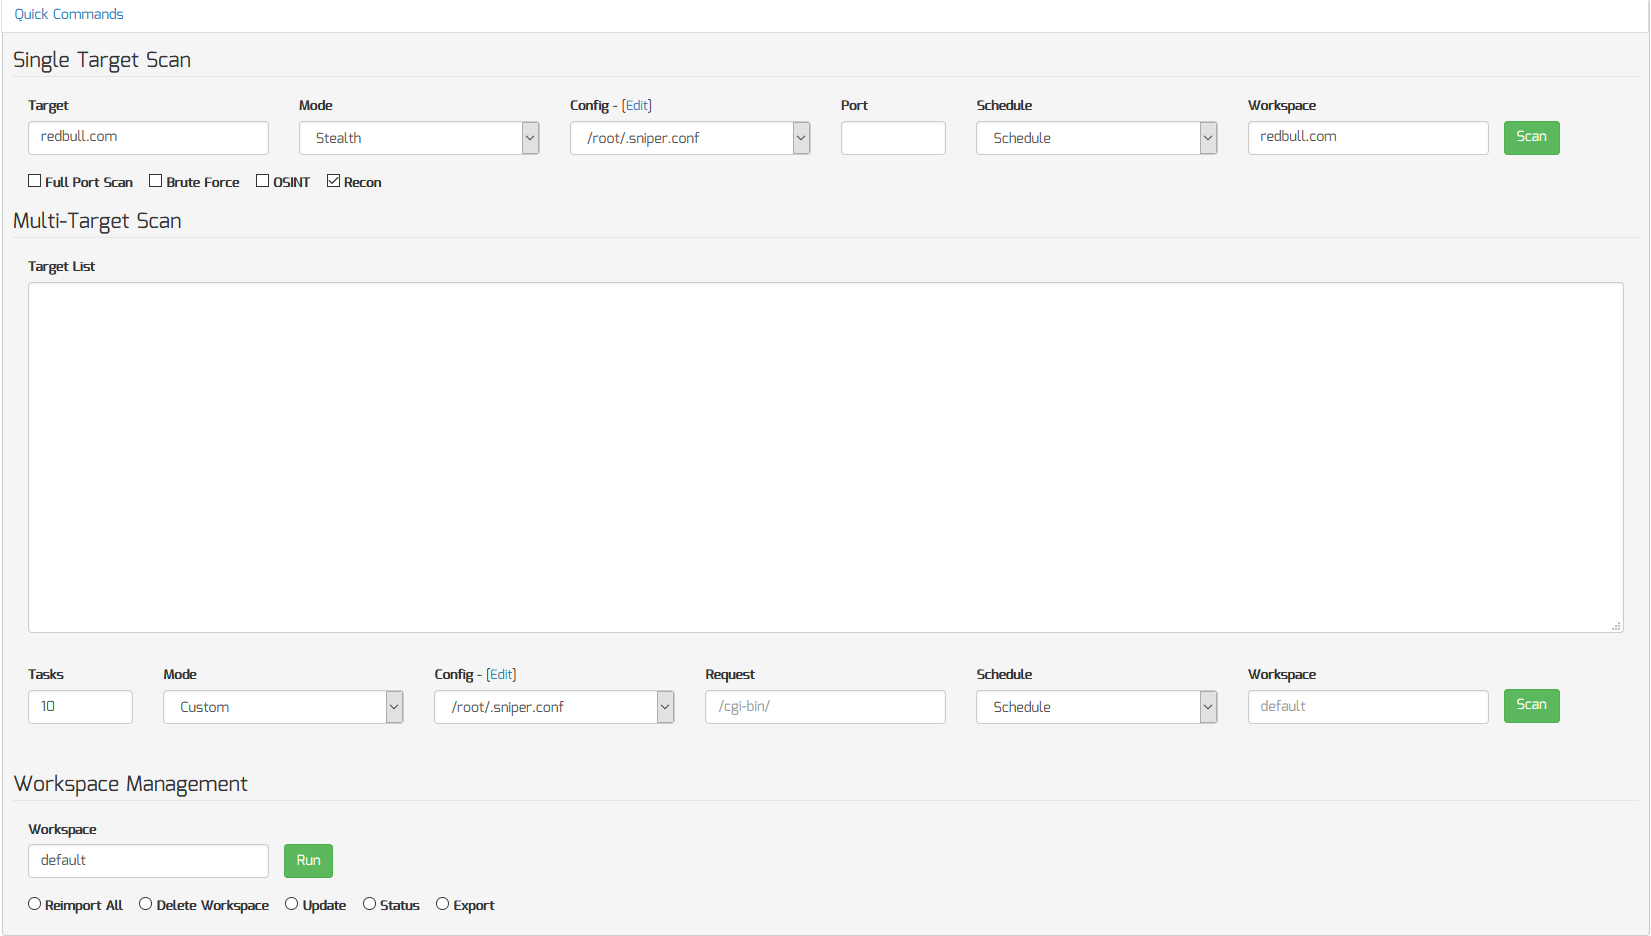
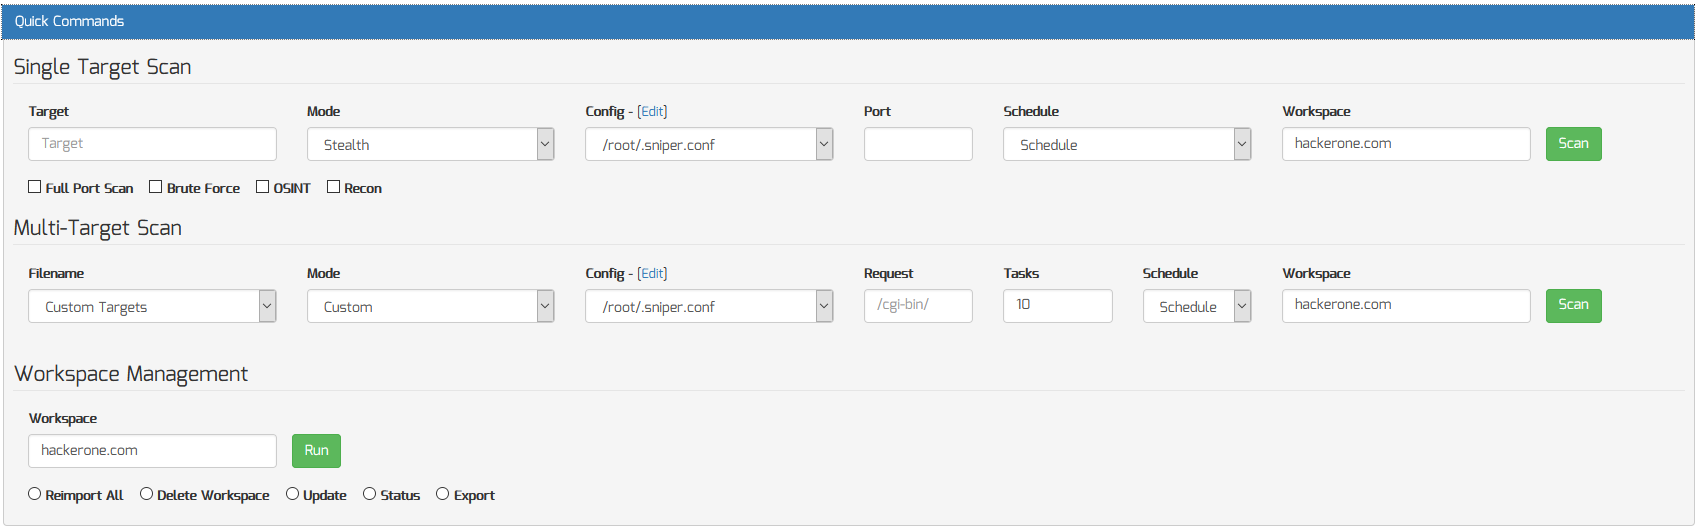
Single Target Scan
To scan a single target from scratch (ie. no existing workspace created yet), do the following:
- From the Workspace Navigator, click the ‘Quick Commands‘ menu
- Enter the target domain/IP/hostname in the “Target” input field
- Select a scan mode to use for the scan from the “Mode” drop down selection
- Select a configuration template to use from the “Config” drop down selection
- Enter a port or port range (ie. 1-65535, 135, 137-139) in the “Port” input field or leave blank to use the default options specified in the “Config” settings
- Select a recurring scan schedule (ie. Daily, Weekly or Monthly) from the “Schedule drop down selection or leave blank to disable scan scheduling
- Select any optional auxiliary mode check boxes (ie. Full Port Scan, Brute Force, OSINT, Recon, etc.) to enable them for the scan
- Enter a ‘Workspace‘ name to save all scan data
- Click the ‘Scan‘ button to start the scan
To scan a single target from from an existing workspace, do the following:
- From the Workspace Navigator, click the existing workspace from the “Workspace Navigator“
- From the Workspace Report, click the “Quick Commands” panel
- Enter the target domain/IP/hostname in the “Target” input field
- Select a scan mode to use for the scan from the “Mode” drop down selection
- Select a configuration template to use from the “Config” drop down selection
- Enter a port or port range (ie. 1-65535, 135, 137-139) in the “Port” input field or leave blank to use the default options specified in the “Config” settings
- Select a recurring scan schedule (ie. Daily, Weekly or Monthly) from the “Schedule drop down selection or leave blank to disable scan scheduling
- Select any optional auxiliary mode check boxes (ie. Full Port Scan, Brute Force, OSINT, Recon, etc.) to enable them for the scan
- Enter a ‘Workspace‘ name to save all scan data
- Click the ‘Scan‘ button to start the scan

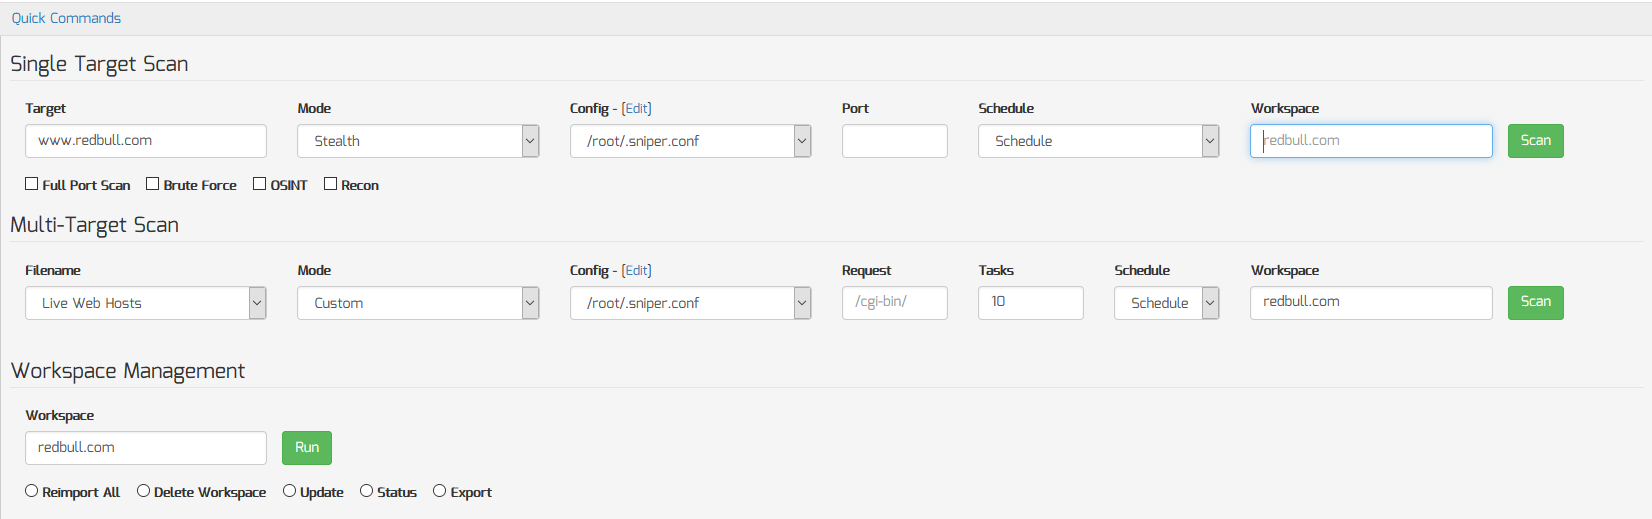
Multi-Target Scan
To scan a single target from from an existing workspace, do the following:
- From the Workspace Navigator, click the existing workspace from the “Workspace Navigator“
- From the Workspace Report, click the “Quick Commands” panel
- Select a pre-sorted list of targets (ie. Custom Targets, All Domains, All Targets, All IPs, Live Hosts, Web Hosts, All Unscanned) “Filename” drop down selection
- Select a configuration template to use from the “Config” drop down selection
- Select the number of simultaneous tasks from the ‘Tasks‘ input box
- Select a recurring scan schedule (ie. Daily, Weekly or Monthly) from the “Schedule drop down selection or leave blank to disable scan scheduling
- Enter a ‘Workspace‘ name to save all scan data
- Click the ‘Scan‘ button to start the scan
Subnet Scan
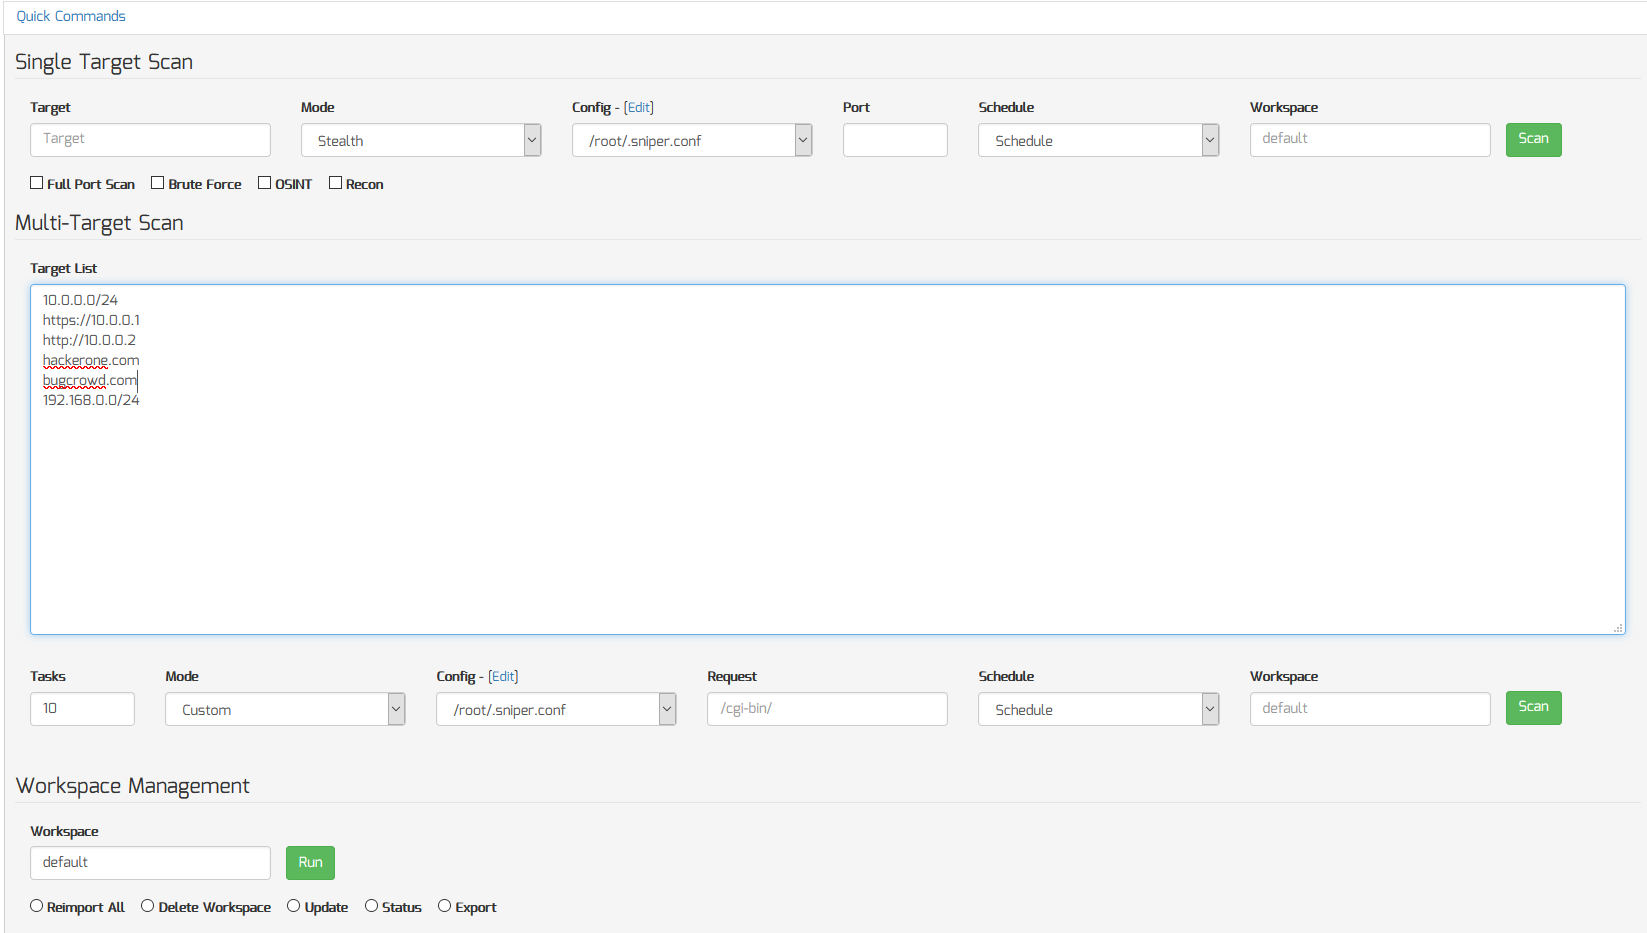
To scan a subnet range (ie. 10.0.0.0/24) from from an existing workspace, do the following:
- From the Workspace Navigator or Workspace Report, click the “Quick Commands” panel
- In the “Target” input box, enter the subnet you wish to scan (ie. 10.0.0.0/24)
- Select a recurring scan schedule (ie. Daily, Weekly or Monthly) from the “Schedule drop down selection or leave blank to disable scan scheduling
- Enter a ‘Workspace‘ name to save all scan data
- Click the ‘Scan‘ button to start the scan
NOTE: Any subnet range entered into the “Target” input box will cause Sn1per to automatically use “discover” mode to scan the initial subnet range.
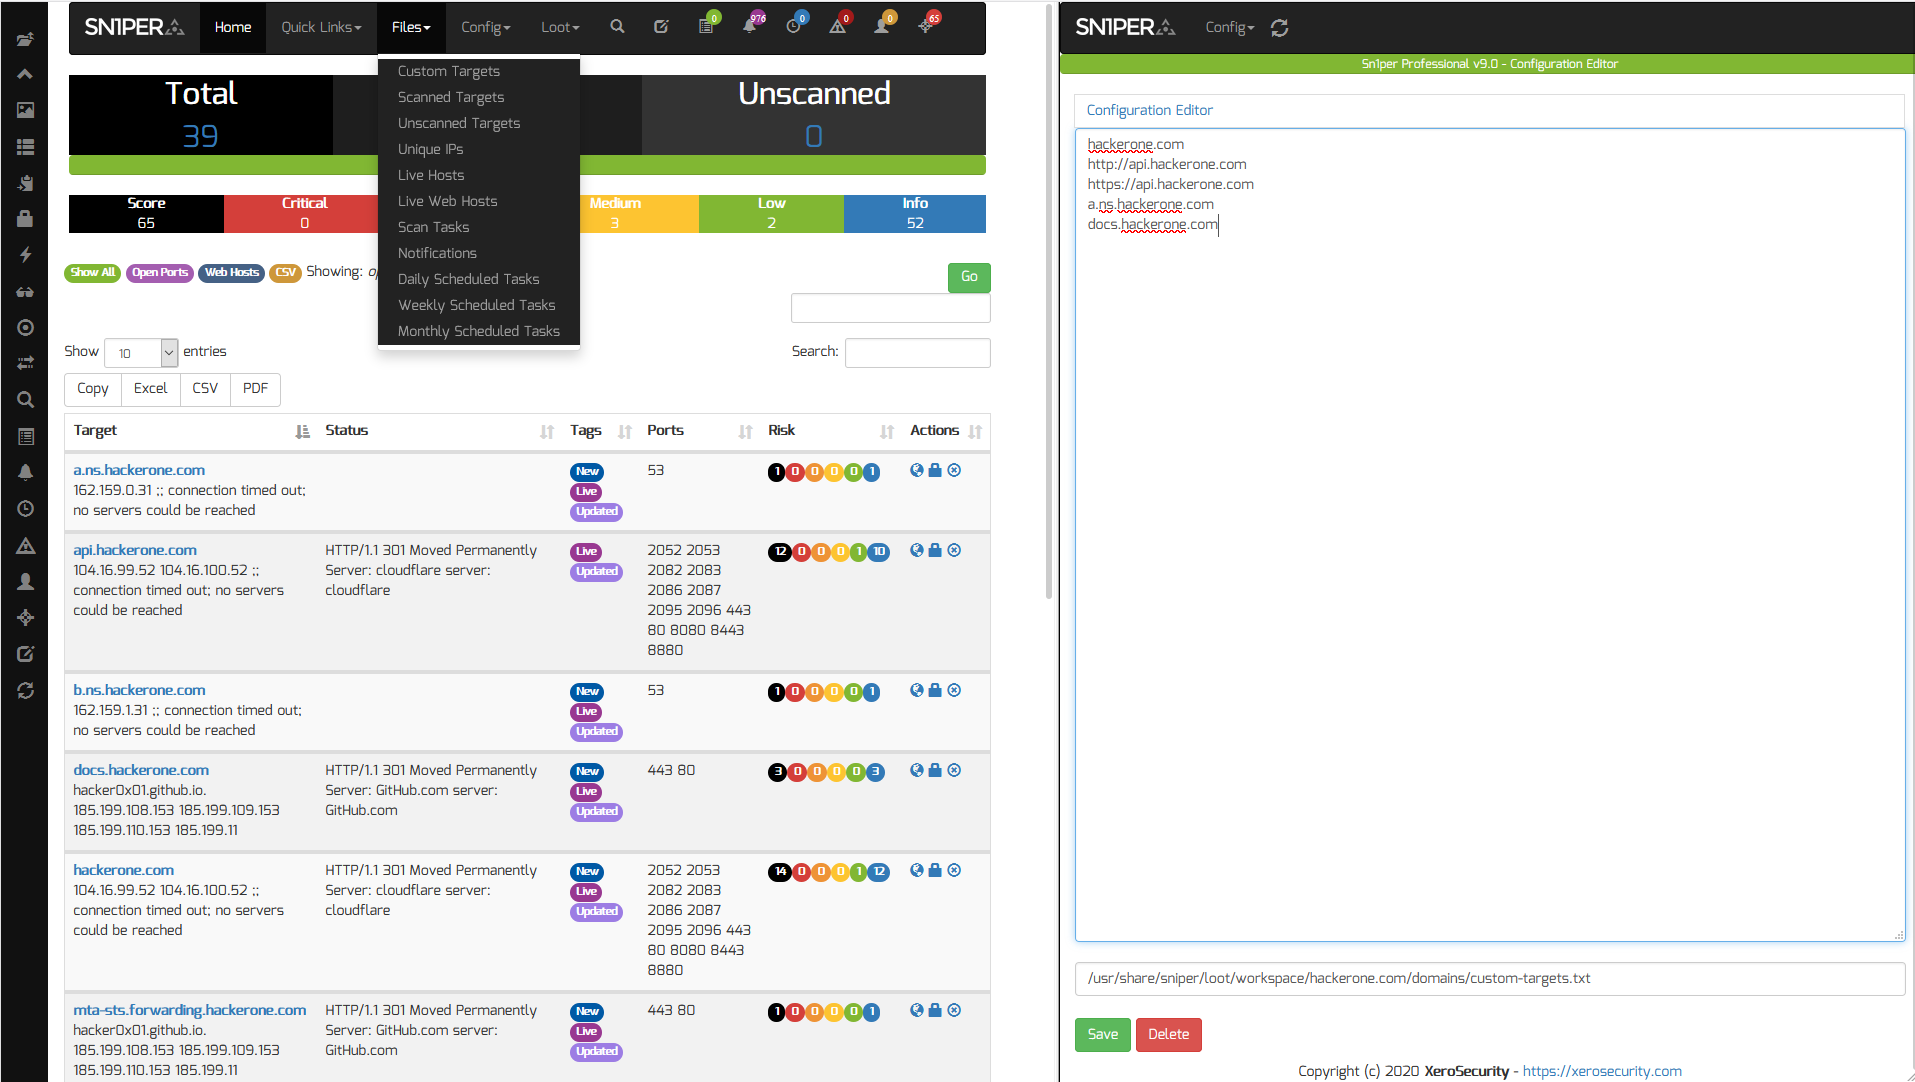
Custom Target Scan
To enter a list of custom targets (ie. subnets, domains, URL’s, etc.), do the following:
- From the Workspace Navigator, click the ‘Quick Commands‘ menu
- Enter a line delimited list of targets (can be domains, IP’s, subnets or URL’s starting with http:// or https://, etc.) in the “Target List” text area
- Select the number of simultaneous tasks from the ‘Tasks‘ input box
- Select the ‘Config‘ template to use for the scan
- Enter a ‘Workspace‘ name to save all scan data
- Click the ‘Scan‘ button to start the scan
To scan a custom set of targets in an existing workspace, do the following:
- Click on the desired workspace from the Workspace Navigator
- From the “Files” menu, select “Custom Targets”
- Enter the desired targets and click “Save” to save them
- Click on the “Quick Commands” menu
- Select “Custom Targets” under the “Multi-Target” scan mode
- Click the “Scan” button to start the scan
Mass URL Scan Mode
To scan for a specific URL across your entire workspace, do the following:
- Click on the desired workspace from the Workspace Navigator
- Scroll down to the ‘Quick Commands’ section
- Select the ‘Live Web Hosts’ option from the Multi-Target Scan ‘Filename’ menu
- Select ‘Mass URL Scan’ option from the ‘Mode’ menu
- Enter the desired URI into the ‘Request’ input box (ie. /robots.txt)
- Click the ‘Scan’ button
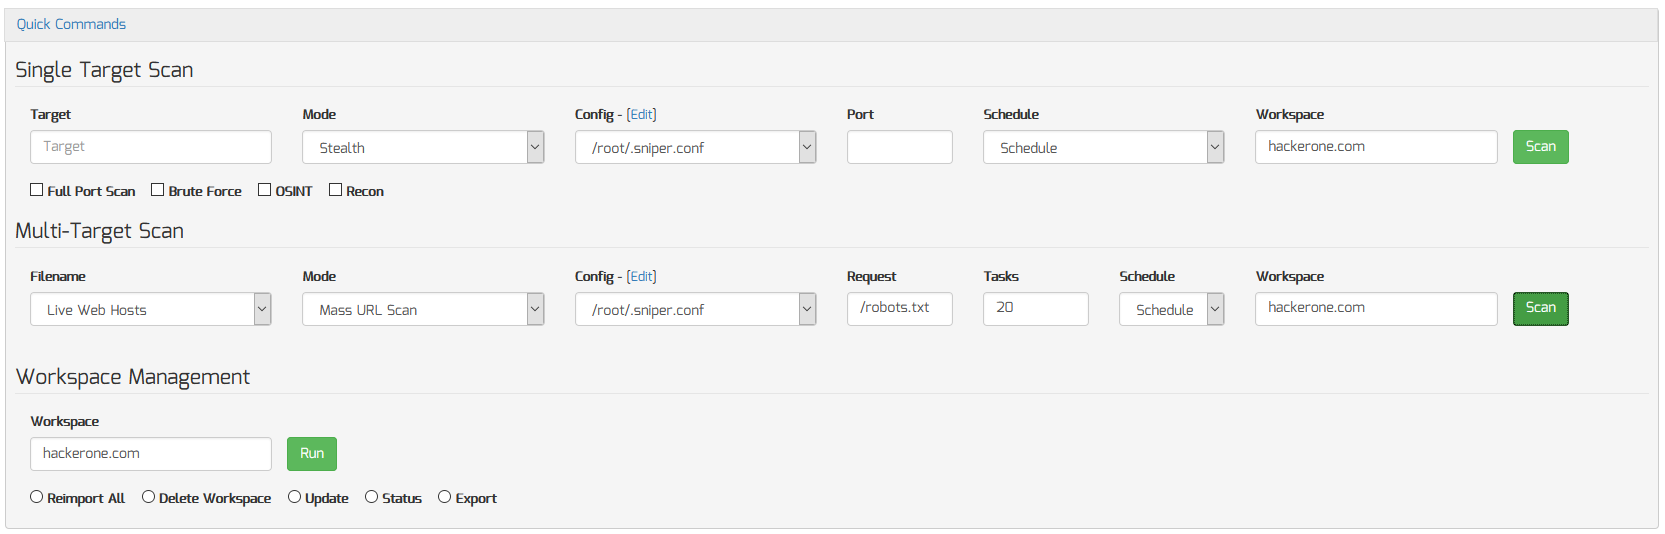
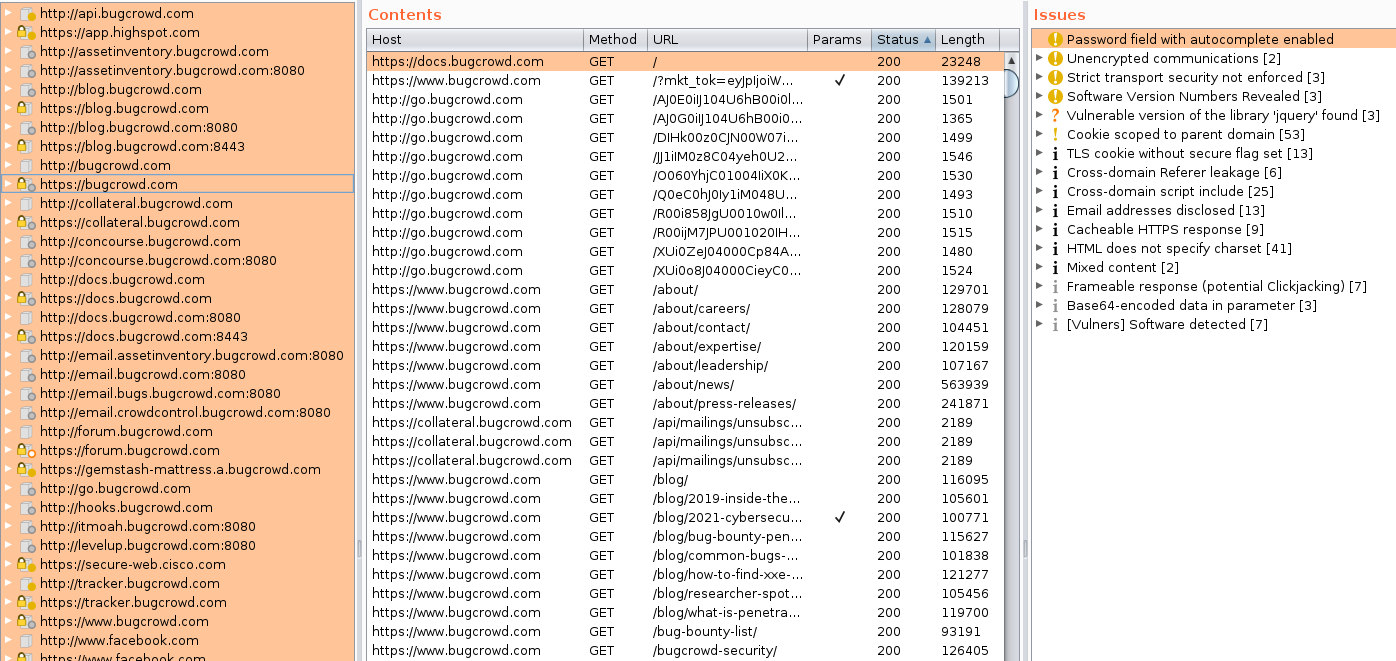
This will show the HTTP response codes, redirects, response size and title for all requests making it easy to find the content you want across a large number of hosts.

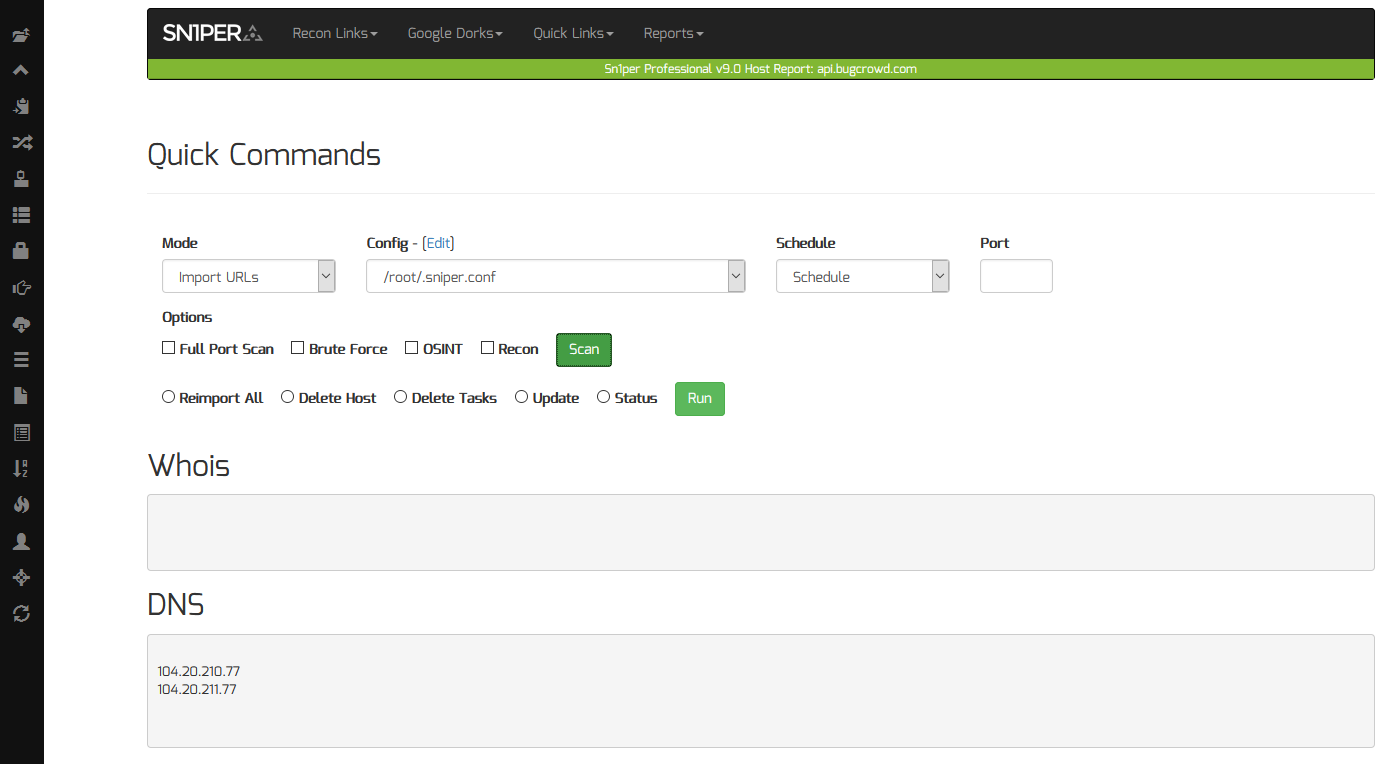
Importing URL’s
With Sn1per Professional v9.0, you can easily import all discovered URL’s directly into a 3rd party proxy such as OWASP Zap or Burpsuite.
By default, Sn1per Professional will use http://127.0.0.1:8080 as the default proxy server address. To change this, you can change the $BURP_HOST variable in your /sniper/pro/settings.php file.
To import ALL url’s discovered into an external proxy, change the “Mode” drop down menu to “Import URLs” and click the “Scan” button from the Workspace Report.
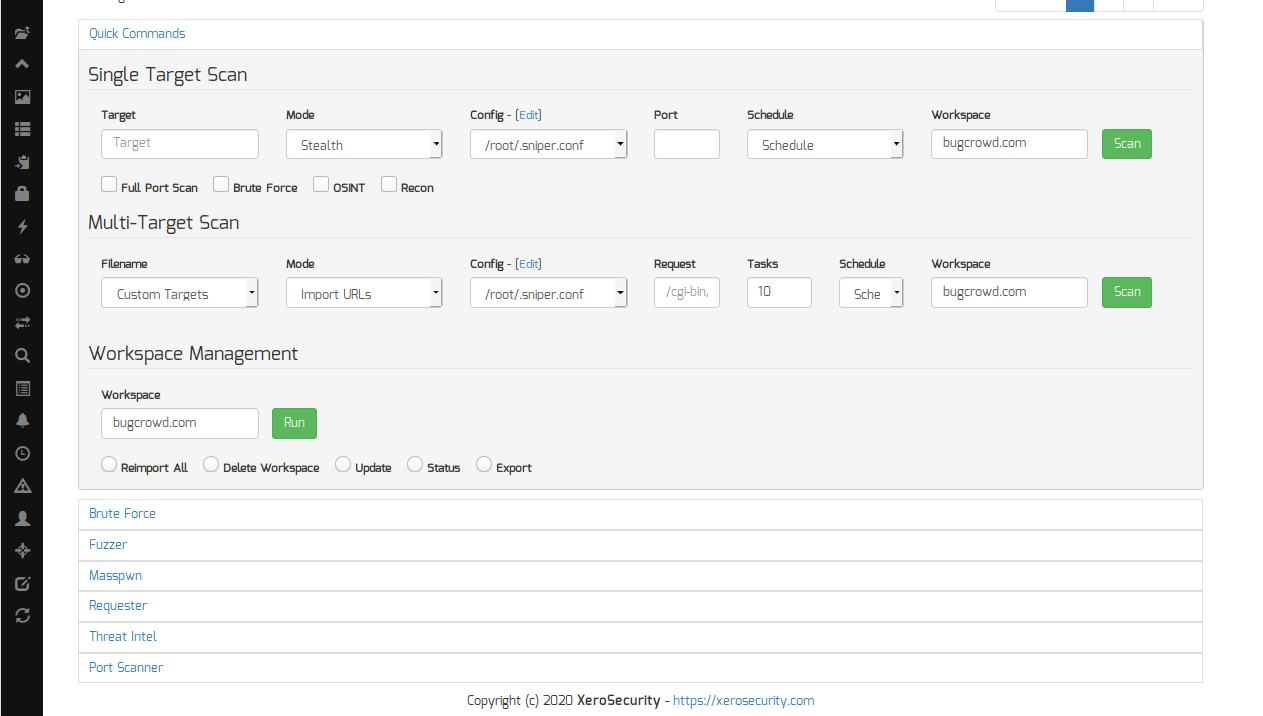
This will import all discovered URL’s into your proxy for further analysis (ie. HTTP status codes, length, sitemaps, passive security findings, etc.).
To import only host specific URL’s into an external proxy server, click on any host from the Workspace Report and change the “Mode” to “Import URLs” and click the “Scan” button.