Sn1per Professional Documentation
The official Sn1per Professional software manual.
System Requirements
Sn1per Professional requires the following to run correctly:
- A Kali Linux operating system (ie. Kali 2021.x or newer), Ubuntu 20.04.x, or the official Sn1per Docker image (https://hub.docker.com/r/xer0dayz/sn1per) with at least 8GB of RAM (16-32GB recommended for larger workspaces).
Note: Only the specified Kali Linux, Ubuntu and Docker installations are supported under our customer service agreement. Windows WSL is NOT supported at this time. - “root” user access to the host OS & sudo access to Apache.
- Recommended resolution: 1920 x 1080 or larger
- Firefox/Edge/IE/Chrome web browser
- An active internet connection with access to the sn1persecurity.com website.
Getting Started
Install Using Docker
To install Sn1per Professional using Docker, run the following commands from a docker terminal:
docker pull xer0dayz/sn1per
docker run -p 1337:1337 --privileged -it xer0dayz/sn1per /bin/bash
This will give you a root prompt within the container.
From here, run the activation.sh script/command you received with your order to install Sn1per Professional.
curl https://sn1persecurity.com/pro/10.0/<YOUR_LICENSE_KEY_HERE>/activation.sh | sudo bash
After, you can access the web UI by going to https://<DOCKER_IP_HERE>:1337
Install Using Kali Linux or Ubuntu
To install Sn1per Professional on Kali Linux or Ubuntu, run the following command as ‘root’ from a terminal and follow the instructions.
curl https://sn1persecurity.com/pro/10.0/<YOUR_LICENSE_KEY_HERE>/activation.sh | sudo bash
NOTE: You will need to replace the LICENSE_KEY portion with the license key you received via email after purchasing Sn1per.
Install Using DigitalOcean VPS
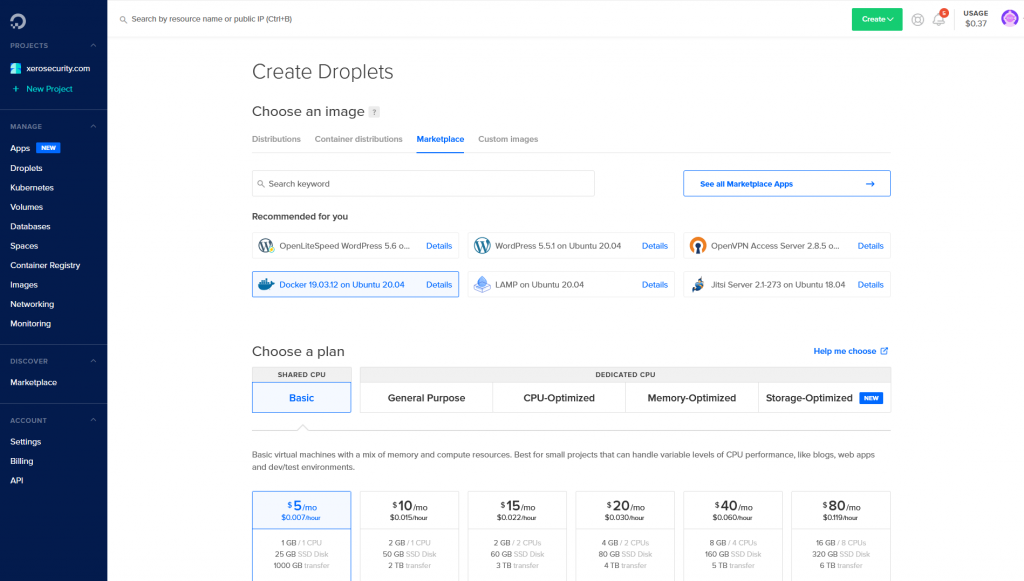
To install Sn1per Professional using a DigitalOcean VPS, create a new Droplet, select the “Docker on Ubuntu 2020.4” image from the Market Place section and run the following commands:
docker pull xer0dayz/sn1per
docker run -p 1337:1337 --privileged -it xer0dayz/sn1per /bin/bash
curl https://sn1persecurity.com/pro/10.0/<YOUR_LICENSE_KEY_HERE>/activation.sh | sudo bash
Install Using AWS EC2
To install Sn1per Professional using a AWS EC2:
- Go to https://aws.amazon.com/marketplace/pp/prodview-rmloab6wnymno and click the “Continue to Subscribe” button
- Click the “Continue to Configuration” button
- Click the “Continue to Launch” button
- Login via SSH using the public IP of the new EC2 instance
- Run the following command to install Sn1per Professional or Sn1per Enterprise on the new instance:
curl https://sn1persecurity.com/pro/10.0/<YOUR_LICENSE_KEY_HERE>/activation.sh | sudo bash
Setting A Password
The activation script will prompt you to enter a password for the ‘admin’ user. It is recommended to select a complex password since the web service will be exposed publicly.
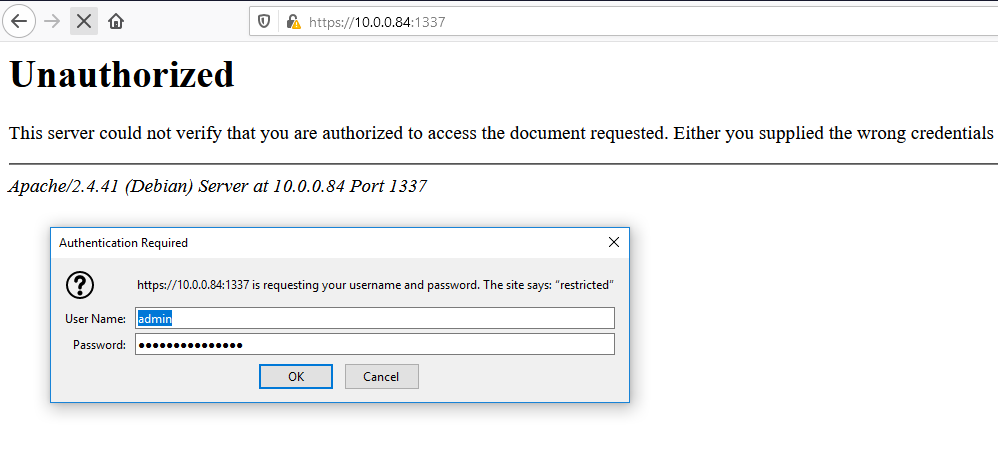
After the password is set, open a new web browser and go to https://127.0.0.1:1337 or https://your.ip.address.here:1337 and login with the username ‘admin’ and the password you setup when installing Sn1per.
Forgot Password
If you forget your password or simply want to change or reset the ‘admin’ user password, run the following command:
htdigest -c /etc/htdigest/.htdigest restricted admin
Uninstalling / De-register Sn1per Professional
If you need to uninstall or de-register a license on a specific machine, run the following command:
sudo bash /sniper/uninstall.sh
Backing Up/Upgrading or Migrating Sn1per
If you need to back up, migrate, upgrade from older Sn1per Professional versions to a newer Sn1per Professional version, or upgrade from Sn1per Professional to Sn1per Enterprise, do the following:
- Backup your entire /sniper/ directory to a separate system or device
- Run sudo bash /sniper/uninstall.sh to uninstall and re-register Sn1per
- Run the activation script to install Sn1per on the new system
- Copy your /sniper/loot/ backup directory from Step 1 to your existing /sniper/loot/ directory to restore your workspace data
Update TLS Certificate
If you need to update the TLS certificate for the web UI, run the following:
sudo openssl req -new -newkey rsa:4096 -x509 -sha256 -days 999 -nodes -out /etc/apache2/ssl/server.crt -keyout /etc/apache2/ssl/server.key
sudo chmod 400 /etc/apache2/ssl/server.key
sudo service apache2 restart
Help Topics
For common Sn1per help topics, use the following links:
- Command Line Usage
- Plugins & Tools
- Scheduled scans
- Sn1per Configuration Options
- Sn1per Configuration Templates
- Sc0pe Templates
- Workspace Navigator
- Workspace Report
- Host Table
- Host Lists
- Scan Tags
- Notifications Panel
- Credentials Panel
- Scheduled Scans Panel
- OSINT Panel
- Slideshow Panel
- Vulnerability Report Viewer
- Notepad
- Configuration Editor
- Host Report
- Recon Links
- Google Dorks
- HTML Scan Reports
- NMAP HTML Report
Integration Guides
For integration guides, use the following links:
- Github API integration
- BeVigil API Integration
- Burpsuite Professional 2.x integration
- OWASP ZAP integration
- Shodan API integration
- Censys API integration
- Hunter.io API integration
- Metasploit integration
- Nessus integration
- GVM 21.x API integration
- Slack API integration
- WPScan API integration
Modules
For add-on specific documentation and installation guides, use the following links:
- Command Execution Add-on
- Brute Force Add-on
- Fuzzer Add-on
- Threat Intel Add-on
- Nessus Add-on
- MassPwn Add-on
Sn1per Professional Demos
Sn1per Enterprise Boot Camp
Get the training you need to be successful with Sn1per Enterprise with our Sn1per boot camp training series.


